Digital Forensics
Digital Forensics Starter Guide for Beginners — KaliLinux.net
Learn digital forensics basics using Kali Linux. Discover Sleuth Kit, Autopsy, Volatility and essential forensic tools in this beginner-friendly guide from KaliLinux.net.
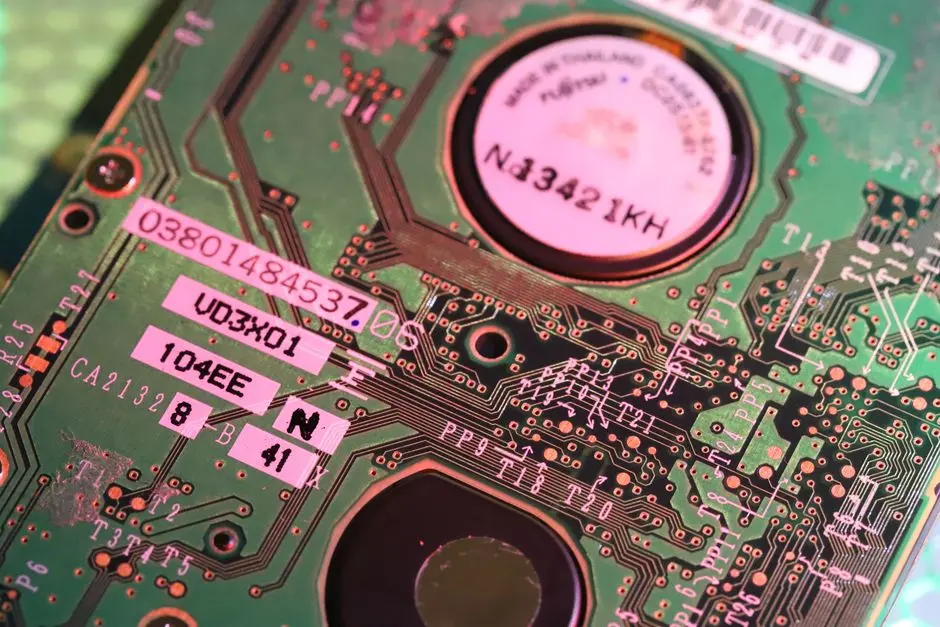
Kali Linux udah dibekali meta-package Kali Forensics, ada lebih dari 30 tool yang ter-install buat disk imaging, analisis memori, sama pemulihan file. KaliLinux.net ngebahas tool-tool ini buat pemula yang mau masuk ke forensik digital lewat lingkungan latihan yang legal. Panduan ini bakal ngenalin konsep inti dan tool bawaan Kali buat kamu yang baru mulai perjalanan DFIR.
Disk Imaging dan Akuisisi Bukti
Aturan pertama forensik: jangan pernah sentuh bukti asli. Kerjain dari salinan bit-per-bit. Kali udah include dd secara default dan dcfldd buat hashing selama prosses akuisisi. Bikin image dulu, terus verifikasi integritasnya pake hash SHA-256 sebelum analisis dimulai.
dcfldd if=/dev/sda of=/evidence/disk.img hash=sha256 hashwindow=1G
Sleuth Kit (fls, icat, mmls) nge-handle parsing partisi dan ekstraksi file dari raw image. Autopsy 4.21.0 nyediain GUI berbasis browser di atas Sleuth Kit, tinggal ingest image, index, terus jelajah file yang kehapus, timeline, sama data EXIF yang nempel lewat web UI di localhost:9999. Dua tool ini ada di repo default Kali: apt install autopsy sleuthkit. Bener-bener memudahkan bnget buat pemula.

Memory Forensics dengan Volatility
Capture RAM bisa nunjukin proses yang lagi jalan, koneksi jaringan, kunci enkripsi, sama kode yang disuntikin, data kayak gitu bakal ilang begitu sistem mati. Volatility 3, udah ke-install di Kali, bsa analisis memory dump Windows, Linux, sama macOS.
vol -f memory.dmp windows.pslist
vol -f memory.dmp windows.netscan
Ambil memory pake lime (Linux) atau winpmem (Windows) sebelum imaging disk. Latihan pake sampel memory yang tersedia publik dari challenge kayak di DFIR Diva
atau test image bawaan Volatility. Jangan pernah ambil memory dari sistem yang bukan punya kamu atau tanpa izin tertulis buat diperiksa.

Membangun Lab Latihan
Bikin VM VirtualBox atau QEMU yang terisolasi buat jalanin Kali sebagai workstation forensik. Download image latihan yang legal: NIST National Software Reference Library nyediain hash set, dan situs kayak TraceLabs nawarin skenario CTF berbasis OSINT dengan artefak forensik. Mount bukti secara read-only, pake mount -o ro,loop atau atur ingest Autopsy buat ngeblokir penulisan ke image sumber. Catat semua command, timestamp, sama hash di buku catatan kasus. Rantai kepemilikan itu sebenernya penting bahkan dalam latihan lab; kebiasaan ini langsung kebawa ke kerjaan DFIR profesional.
Mulai dari pemulihan file, lanjut ke analisis timeline, terus coba memory dump. Tool di Kali udah mencakup seluruh pipeline, disiplinnya datang dari latihan yang metodis.